This is Part 4 of our 5 part guide on using EndNote and the UWA Vancouver reference style.
- EndNote Pt 1: Getting to know the basics
- EndNote Pt 2: Downloading citations directly from Google Scholar and importing into EndNote
- EndNote Pt 3: Using Google Scholar for article searching then letting EndNote do all the work
- EndNote Pt 4: Importing references from the PubMed website
- EndNote Pt 5: Importing references from the PubMed via Endnote
In this part of the guide, we'll go through how to find multiple references in PubMed and then bulk download and import them into EndNote. This is much preferred to the Google Scholar method, as the journal articles details WILL be correct! In part 4 we'll look at how to import references form PubMed from within EndNote
These instructions are demonstrated using a mac and EndNote X7 but Windows is similar.
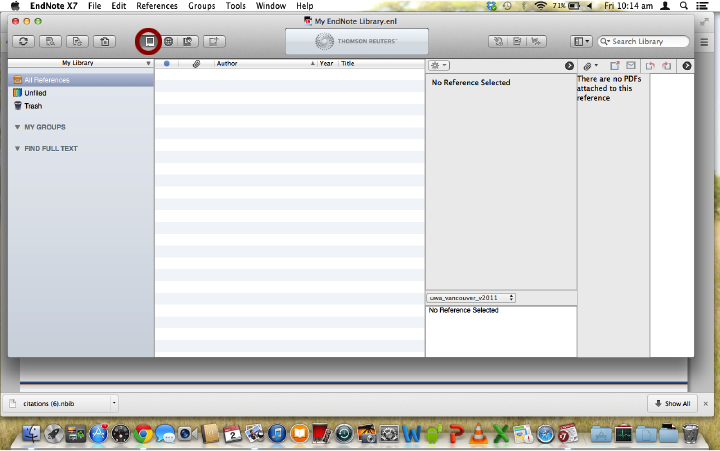
Open endnote (in this case I have a new blank library open), make sure you are on Local library mode.
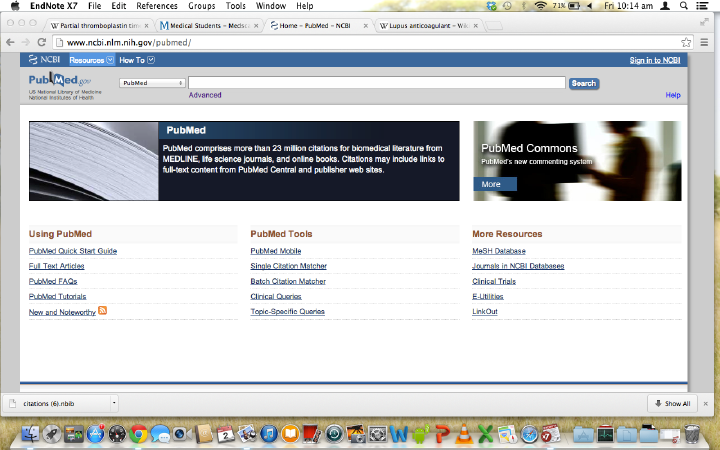
Open up your search engine (in this case pubmed / medline) and search away.
Find some articles you like (or hate) and as you are searching through click on them and SEND TO clipboard (top right of the page). This is great because you can check an article out but if you don’t like it, just remove it.
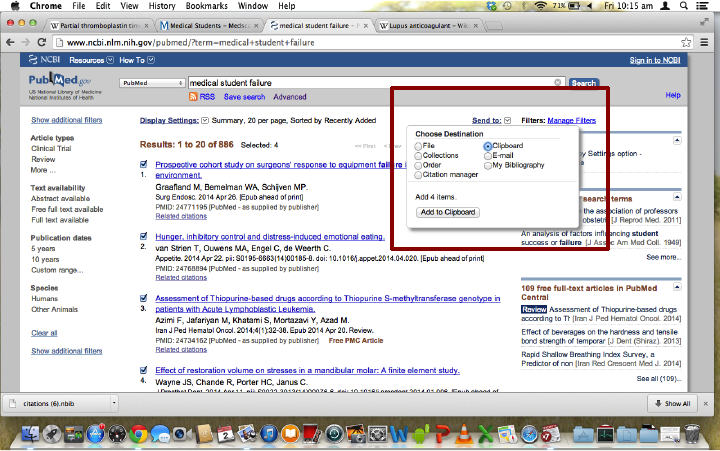
Once you are happy just click on the clipboard item numbers to head to the clipboard.
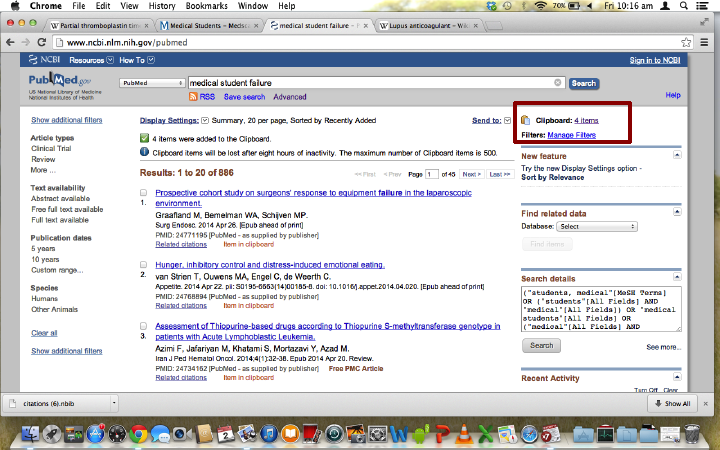
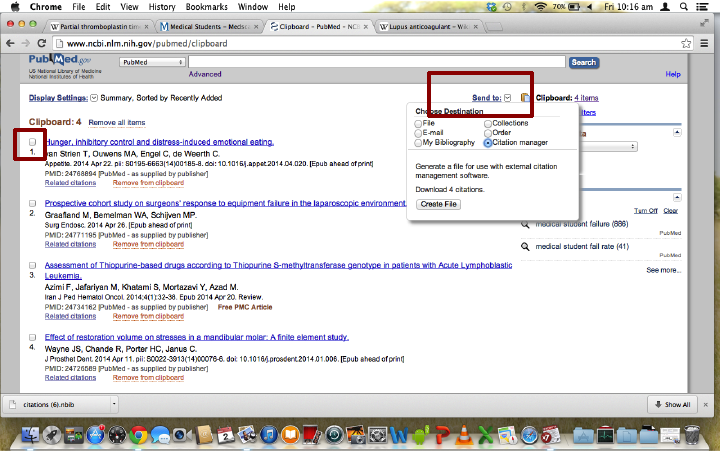
In the clipboard menu, choose the articles you want by selecting them on the left, now go back to SEND TO: Citation Manager. If you don’t select an article they will all be sent. In our case, this is a good thing! A file will now be downloaded containing the references.
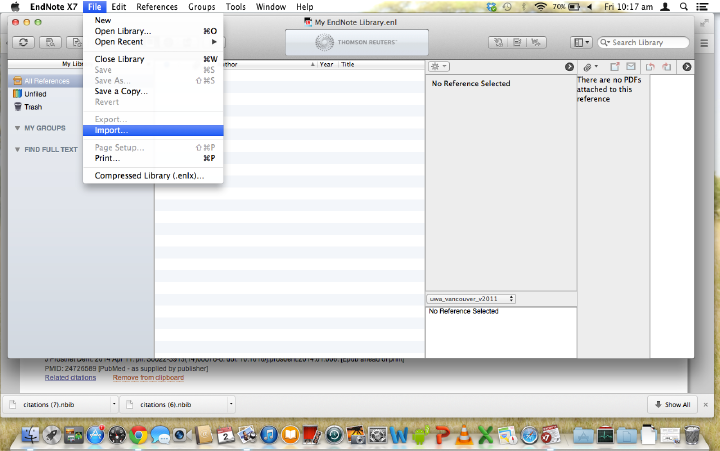
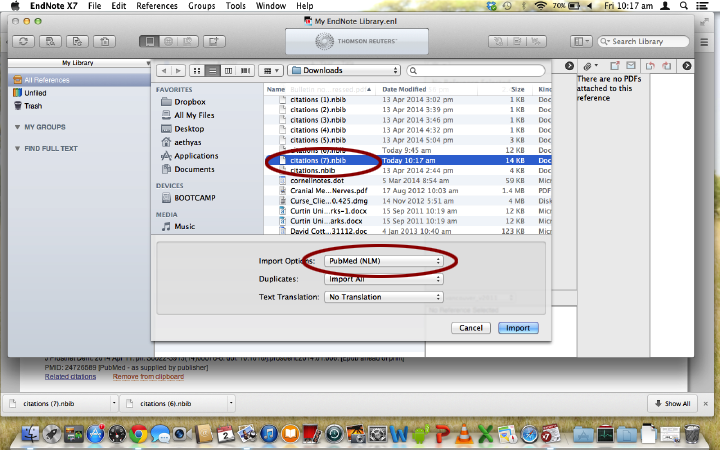
Now go back to Endnote “My library” now go File. Import. If this is greyed out either you don’t have a library open OR you are in the online reference pane, click on local library mode.
Click on the file (wherever it downloaded and whatever it is named) then go to Import Options. If you have never done this before it will say something different in the bottom red circle than what is shown here. If that is the case, follow the next few step. In the future you can skip as it becomes the default setting.
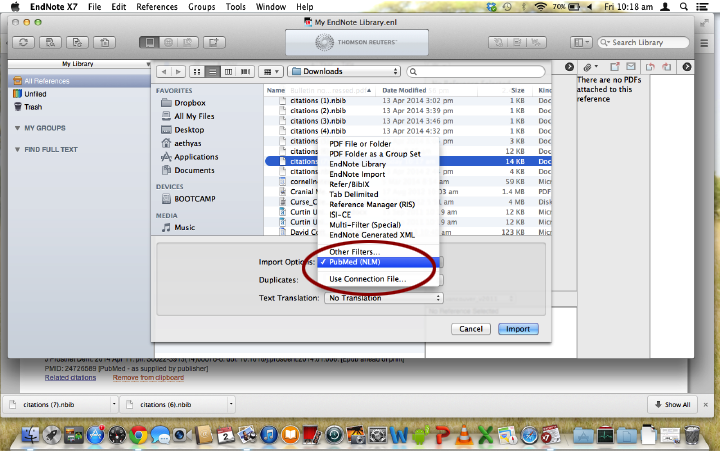
Click on Import Options. Scroll down to Other filters and click on it. (In the picture PubMed (NLM) is highlighted. You want to click the 'Other Filters' directly above it.) The reason why PubMed shows up here is because I have done this before, it now appears as a default. DO NOT go to use connection file, it will cause all your references to import as one single reference. BAD.
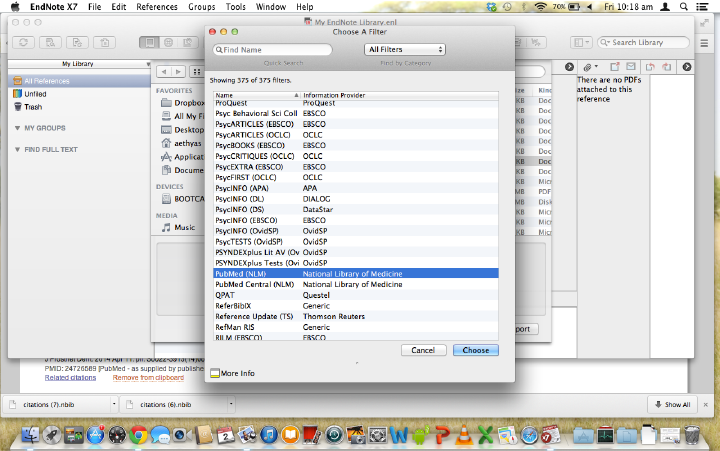
When you click on Other Filters, this screen will pop up. Find the Pubmed filter (No I don’t know the difference between pubmed and pubmed central, but I know pubmed works.)
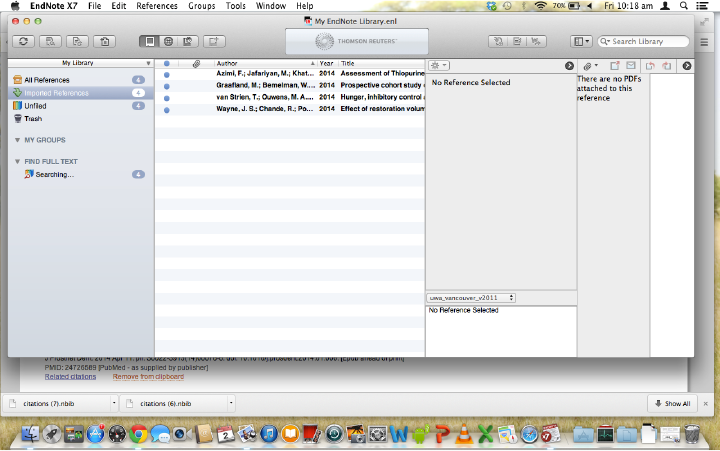
All of your chosen references should now be fully imported and looking awesome.
